|
 |
 |
 |
 |
 |
 |
|
Online Video Tutorial for using Steam-a-Seam here, as well as for select designs at www.YouTube.com/@WildfireDAK
These video tutorials assemble laser kits and go through the process of fusing all appliques at the end.
Fusible Web
The following steps are how I use Steam-a-Seam fusible web. This is my perfered permanent fusible web to use in my designs, which becomes a permanent bond once it has been steamed. I used to use the original Steam-a-Seam Lite (paper on only one side), which is no longer available. Today Lite Steam-a-Seam 2 (paper on both sides) is what I use. The below pictures are using the original Steam-a-Seam, and notations have been made for using Lite Steam-a-Seam 2. If you are using a different brand, please refer the manufacturer's instructions on that product.
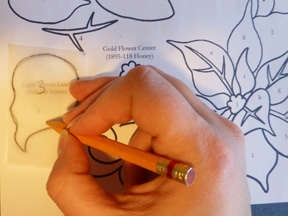
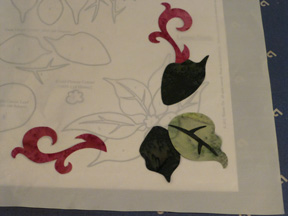
On the paper side of your fusible web, trace and label all your applique pieces. |
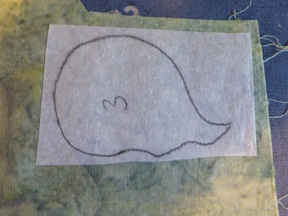
Lay your applique pieces on the wrong side of your chosen fabrics. |
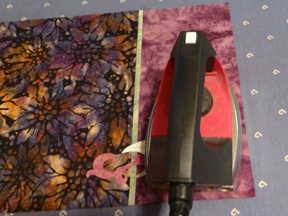
Keep your iron on a low heat so you won't over melt the glue and lightly press the applique pieces onto the fabric just until they stick (this only takes a second or two). It is a good idea to use a non-stick pressing sheet (not shown here) to keep the glue from seeping out from the edges and sticking to your iron. Do not do this step unless you are prepared to cut all the pieces out within the next few hours. This is a temporary hold and will start to unstick from the paper after a few hours (especially in a dry climate) which can be very frustrating when you start cutting out the appliques. If however, you did this step and then had to wait a day or two until cutting, you can re-stick the paper by pressing them lightly again with your iron. |
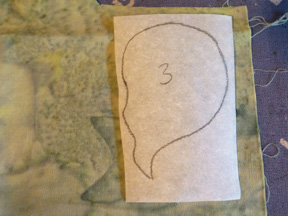
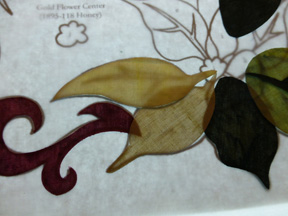
When the glue is properly stuck, the paper will look a little translucent and stay flat. |
Cut out all your applique pieces on the drawn lines. I use the scissors in the picture for all my cutting, but you can use smaller scissors if you prefer. When I cut, I start at the base of my scissors and make long continuous cuts, which helps to keep your applique edges from looking choppy. I pretty much keep my right (scissor) hand stationary and use my left hand to rotate the appliques as I slowly cut the appliques. |
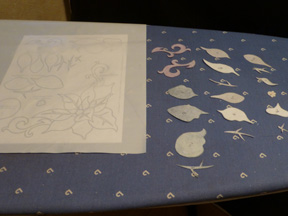
When you're ready to assemble, lay your applique pieces out in the order in which you will need them (see your pattern). Place the nonstick pressing sheet over your Layout Guide. |
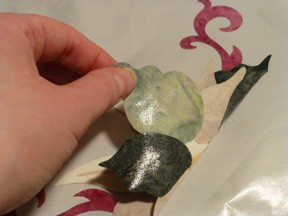
Peeling the paper away from each applique piece as you go, begin assembling. |
I like to use a light table to better see the Layout Guide under my pressing sheet. It is especially helpful when you have multiple layers (see the veins showing through in the picture above). If you don't have a light table, place a lamp under a glass table and make your own. |
Lightly fuse the grouping together (this only takes a second or two - don't over heat it which can damage the glue). |
Gently peel the grouping from the pressing sheet. This is only a temporary hold, so be extra gentle as you pull it off and handle it. |
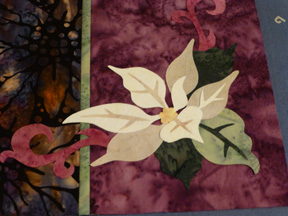
Arrange the grouping onto your background. If you are using a Layout Guide, the light table is especially helpful when you have a dark background. |
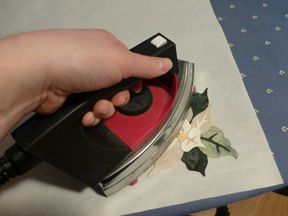
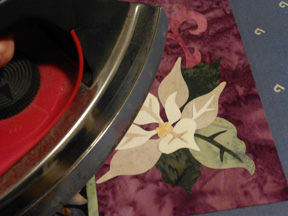
Lightly press the applique pieces in place so they don't move when you apply steam. |
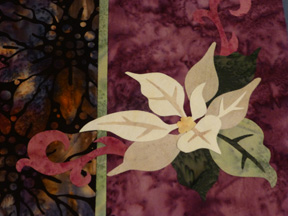
To make the applique permanent you MUST APPLY STEAM. Steam each iron 'footprint' for approximately 3 to 4 seconds, then place the dry iron over the steamed area and let set for about another 7 or 8 seconds. Repeat over the entire applique area. I will often do this repeatedly over the applique just to make sure I fused it really well. If I have a applique with multiple layers I will also sometimes flip it over and steam from the back of the background as well, just to make sure I got the steam and heat thorugh all the layers. |
Now your applique is permanently fused and ready for you to move on the quilting. You don't have to quilt directly onto the appliques as long as you've done the fusing well, they will remain in place through many washes and uses. |